This guide shows you how to deploy a Bloomreach backed application on Edgio.
What is Bloomreach?
Bloomreach is an API driven platform offering that focuses on powerful content, customer engagement, and product discovery offerings to achieve true personalization and drive unparalleled business growth. Their offerings and deep partner network create the ability to develop a performant and capable site offering.
Example
This example is a React app powered by Bloomreach Content. The following is based on the Bloomreach Reference SPA
Prerequisites
Setup requires:
- An Edgio account. Sign up for free.
- An Edgio property. Learn how to create a property.
- Node.js. View supported versions and installation steps.
- Edgio CLI.
Install the Edgio CLI
If you have not already done so, install the Edgio CLI.
Bash
1npm i -g @edgio/cli@^6.0.0
Launch the Edgio example application
If you are not yet a Bloomreach customer, but would like to demo their service, the quickest way to get access to an instance is by reaching out to our Partner team. Alternatively, Edgio has setup a sample application that can be used to get started with viewing the service, seeing optimal configurations, and more.
The Edgio sample is a deploy of the Bloomreach Reference SPA with configurations and optimizations ready to run on Edgio.
The sample application does the following things:
- All API requests are routed to the same domain. The requests are then routed to the appropriate Bloomreach API via Edgio’s routing framework to either the BRXM API or the GraphQL endpoint. This is done via a combination of the
edgio.config.jsfile and theroutes.tsfile. - Caching configuration for GraphQL operations, API operations, and static operations have been added in the
routes.tsfile. - To view Prefetching in operation, view the
<Link />component. This wraps menu items and category items to prefetch the content of those links to allow content to be served from instantly from the browser’s cache.
Get the code
There are a couple options to continue:
- Use the “Deploy to Edgio” button above to copy the example repo to your own Github account and deploy to the Edgio system.
- Create a copy of the code above via a fork of the repo.
Whichever method is picked from above, clone the repo locally and open the project in your preferred text editor.
If you were to clone the repo directly,
Bash
1git clone git@github.com:edgio-docs/edgio-docs-bloomreach-reference-spa-static-example.git
Configure the project
From within the project, let’s configure and review a couple of items. This is a sample project static React application.
Duplicate
.env.dist and name it .env. From within the file we need to configure these top 4 variabless.The values below can be used to access the Edgio sandbox. If you change
these to your own, they may not match the Bloomreach application
configuration.
.env
1REACT_APP_BRXM_ENDPOINT=https://jeff-patzer-bloomreach-layer0-example-saas-default.layer0-limelight.link/api2BRXM_ENDPOINT=trial-tnk8sgqr.bloomreach.io3REACT_APP_GRAPHQL_SERVICE_URL=https://jeff-patzer-bloomreach-layer0-example-saas-default.layer0-limelight.link/graphql4GRAPHQL_SERVICE_URL=graphql.trial-tnk8sgqr.bloomreach.io56REACT_APP_DEFAULT_CONNECTOR=7REACT_APP_DEFAULT_SM_ACCOUNT_ID=8REACT_APP_DEFAULT_SM_AUTH_KEY9REACT_APP_DEFAULT_SM_CATALOG_VIEWS=10REACT_APP_DEFAULT_SM_DOMAIN_KEY=11REACT_APP_DEFAULT_SM_VIEW_ID=12REACT_APP_SM_CUSTOM_ATTR_FIELDS=13REACT_APP_SM_CUSTOM_VARIANT_ATTR_FIELDS=14REACT_APP_SM_CUSTOM_VARIANT_LIST_PRICE_FIELD=15REACT_APP_SM_CUSTOM_VARIANT_PURCHASE_PRICE_FIELD=
If you have not yet deployed the project to Edgio, you will not have a
deployed URL. Route requests to localhost during local development.
REACT_APP_BRXM_ENDPOINT- the deployed URL for your Edgio project.BRXM_ENDPOINT- the Bloomreach API endpointREACT_APP_GRAPHQL_SERVICE_URL- the deployed URL for your Edgio project +/graphqlas a path to match and route requests.GRAPHQL_SERVICE_URL- the Bloomreach GraphQL endpoint
Ensure the variables are loaded by running this in the root of your project.
Bash
1source .env
Run the Project
Now that your environment variables are configured, we can start the project with
Bash
1npm run start
Deploy the Project
If you created your project via the “Deploy to Edgio” above then you do not need to do anything further to actively deploy the project.
To deploy the project, run the following set of commands
Bash
1npm run build2edgio deploy
Setting up a Bloomreach Example Site from Scratch
If you are already a Bloomreach customer with an existing configuration, you can skip this section.
Bloomreach documentation can help provide more specific answers to questions regarding that service. This guide focuses on the Bloomreach Content product.
Bloomreach also provides a set of sample credentials that can be used until you have access to your own instance.
Create Bloomreach Content Project
- Login to the Bloomreach Content Portal.
You should have received an email from Bloomreach containing the URL of your Bloomreach Content developer trial account along with your log-in details. The URL should look like this, where [account_name] is the name of your trial account:
https://[account_name].bloomreach.io/cmsThe login page should look like this.

- Create a Channel
Open the Experience manager application. In the Channels overview, click on the + Channel button in the top right. In the Select blueprint dialog that pops up, select Website and click Next.

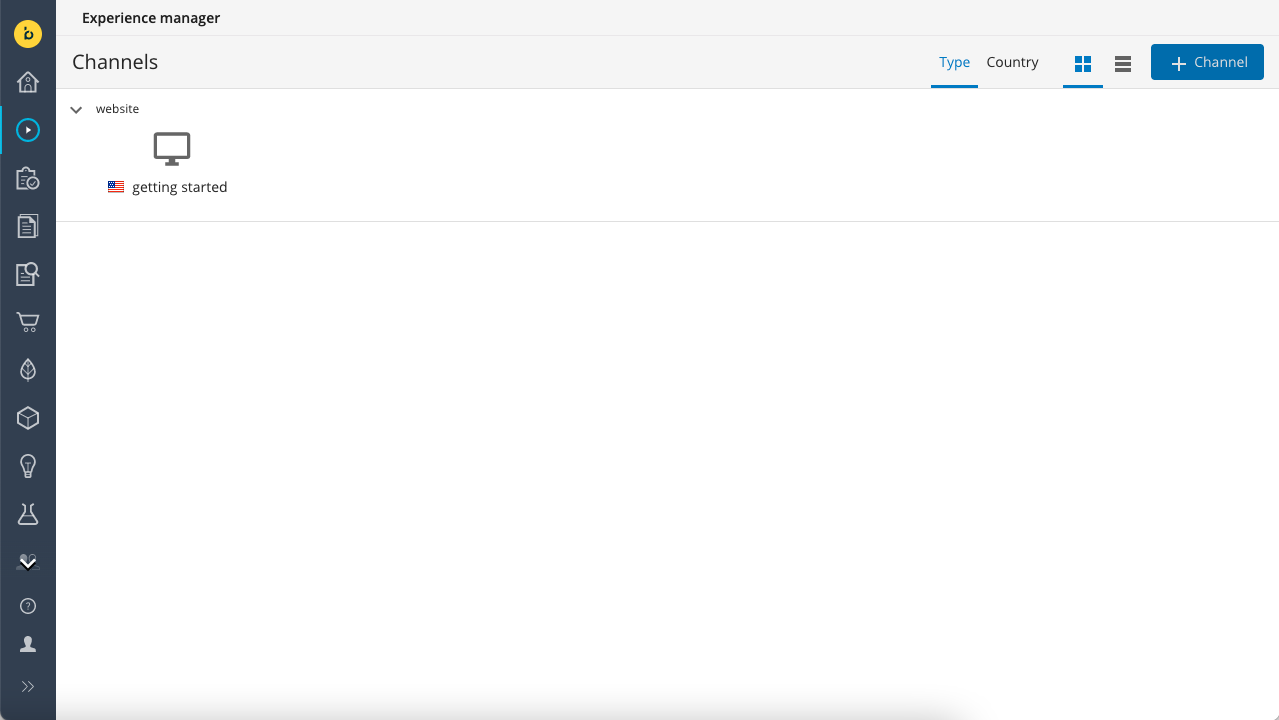
Next, enter a name for your channel (for example, “getting started”) and click on Create channel:

The new channel will now be listed in the Channels overview:

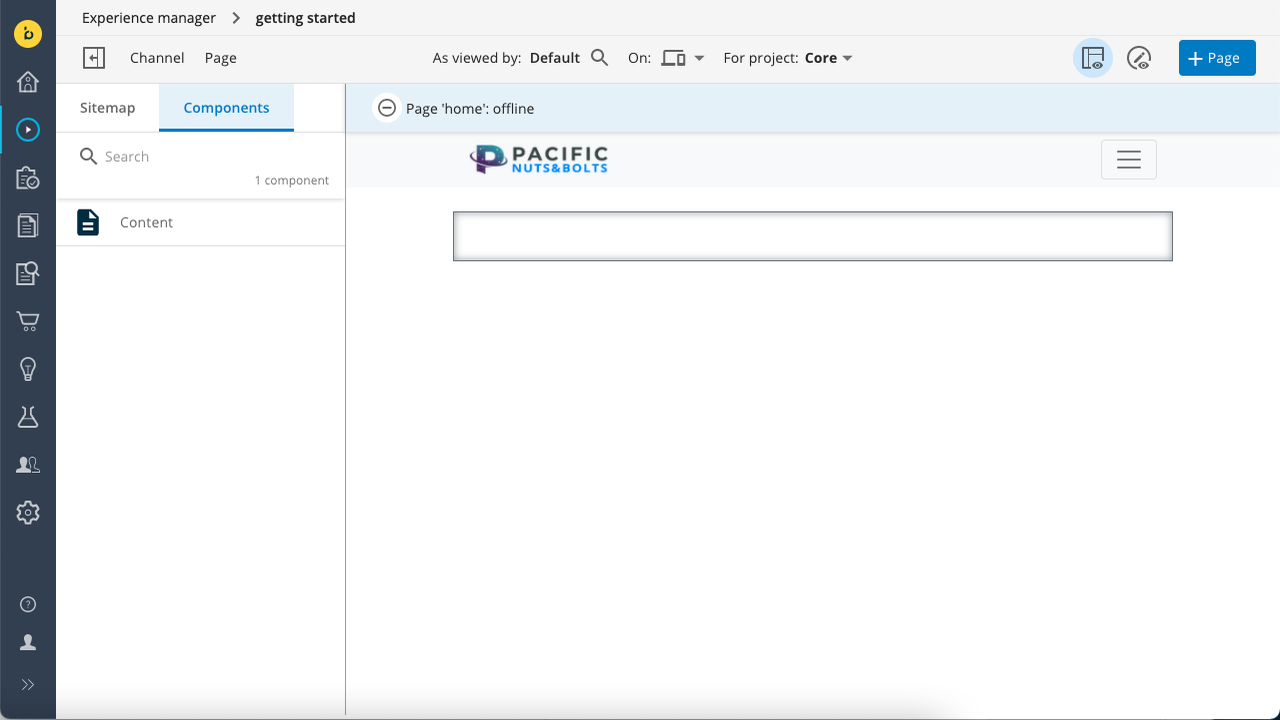
Click on the new channel to open its preview. You are now on the homepage. A standard skeleton frontend app is currently used to render the preview.

- Add a Component
Note the black-bordered area on the page. This is what we call a container. Open the left-side drawer using the button in the top left and open the Components tab. The component library for this channel contains only one component at the moment: Content.

Click on the Content component in the left side drawer to select it, then click inside the container on the page to add the component. It will show standard “Hello World” content that is stored in the page object. If you’d like to edit the text, open the Page menu and select Metadata.

The right side drawer will slide open and show an editor where you can edit the different fields. The page preview will update automatically while you edit the field values.

Click on Save to persist your changes.
At this point your changes are still unpublished and only visible in the preview. To publish the page and make it available through the Delivery API, open the Page menu again and choose Publish.
Generate Frontend Project
To accompany the Bloomreach content project above, we will generate a new app from scratch and configure it to work with Edgio.
- Create a new React app
Bash
1npx create-react-app my-br-edgio-content-app
- Install dependencies
To simplify integration with Javascript-based frontend applications, Bloomreach provides a Bloomreach SPA SDK that interacts transparently with the Delivery API and exposes a simplified and framework-agnostic interface to the API’s data model. You’ll be using the SDK to build up your frontend app.
Bash
1cd my-br-edgio-content-app2npm install @bloomreach/spa-sdk @bloomreach/react-sdk axios
- Set
src/App.jsto the following
JavaScript
1import logo from './logo.svg';2import './App.css';3import axios from 'axios';4import {BrPage} from '@bloomreach/react-sdk';5import {Content} from './components/Content';67function App() {8 return (9 <div className="App">10 <header className="App-header">11 <img src={logo} className="App-logo" alt="logo" />12 <p>13 Edit <code>src/App.js</code> and save to reload.14 </p>15 <BrPage16 configuration={{17 endpoint:18 'https://trial-1234abcd.bloomreach.io/delivery/site/v1/channels/getting-started/pages',19 httpClient: axios,20 }}21 mapping={{Content}}></BrPage>22 </header>23 </div>24 );25}2627export default App;
Note the following:
- The BrPage element (imported from the SDK) is a placeholder in your frontend application which will render components in the page’s JSON representation as returned by the Delivery API.
- The endpoint property specifies the URL of the Delivery API’s Pages endpoint (make sure to update the URL to reflect your Bloomreach Content account!).
- The mapping property maps your React components their counterparts in the JSON representation.
- A Content component (which you will implement in a moment) is imported and mapped.
Change the
endpoint url to your own instance.- Add a content component
In the src folder, create a subfolder called components and inside it, create a file Content.jsx with the contents below. This is will be the frontend implementation of the Content component you added to the page in the previous milestone.
JavaScript
1export function Content({component, page}) {2 const document = page.getDocument();3 const {title, content, introduction} = document.getData();4 return (5 <div>6 <h1>{title}</h1>7 <p>{introduction}</p>8 <div dangerouslySetInnerHTML={{__html: content.value}} />9 </div>10 );11}
- Start the app
Bash
1npm run start
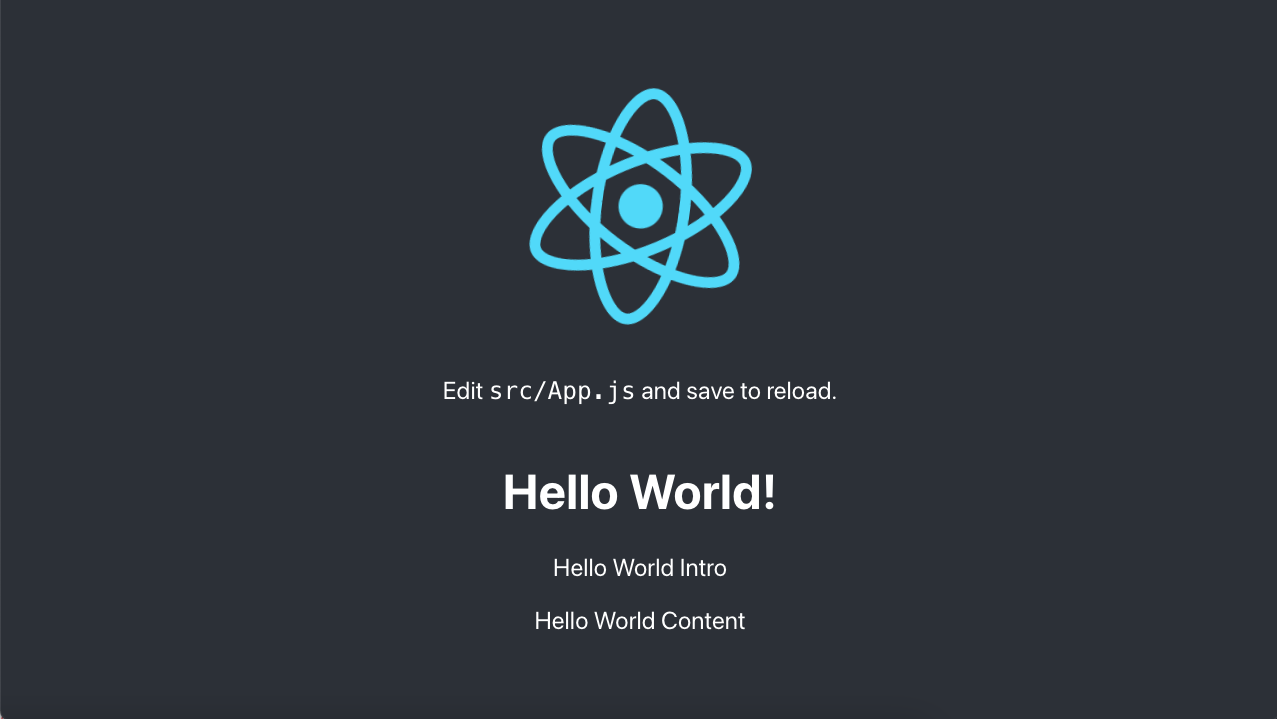
which should now look like this

Awesome, the app should be working locally. Time to get it deployed to Edgio now.
- Configure to run with Edgio
Because this example is based off create-react-app, you can also reference the static react app docs for this.
To add the necessary components to Edgio in order to deploy, run the following:
Bash
1edgio init --edgioVersion ^6.0.0
From the resulting changes, set your Edgio
routes.js file to the following:JavaScript
1import {Router} from '@edgio/core/router';23export default new Router()4 .static('build')5 .fallback(({serveStatic}) => serveStatic('build/index.html'));
- Deploy to Edgio
Since this is a static app, we need to make sure we run a couple steps to get things ready.
- Build the static app
- Build the Edgio configurations
- Deploy those.
Bash
1npm run build2edgio deploy