This guide shows you how to share your project with other collaborators using teams.
Private Space
When you first log into Edgio console, you’ll see your private space:

Launching Your Site
Your site will be hosted on Edgio through DNS, but you need to provide your site’s name. Enter your site’s URL in the Get Started dialog and click LAUNCH MY SITE.
Creating a Team
After launching your site, your private space will look similar to this example:

When you run
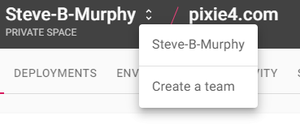
edgio deploy your site will be created here. Sites in your private space can only be seen by you. To collaborate with other developers, create a team.To create a team, click the diamond icon to the right of your name in the upper left of your window, then choose Create a team from the popup.

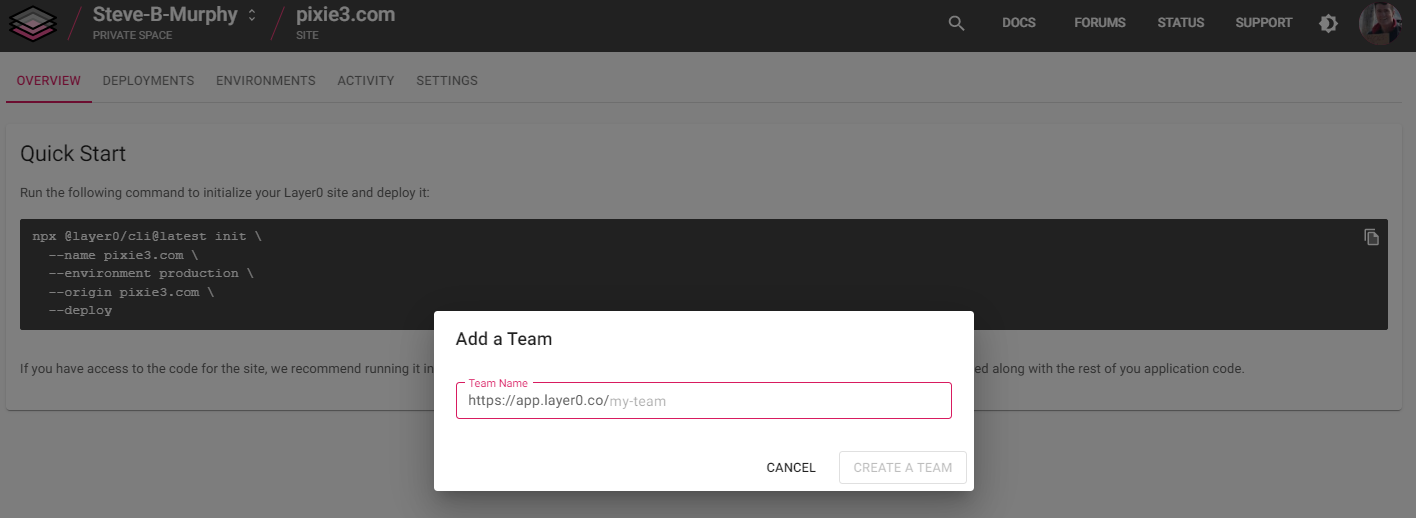
Enter a name in the Add a Team dialog and click CREATE A TEAM.

The name you choose also determines the default URL from which your site will be accessible. To configure custom domains, see Environments.
Adding Your Website to the Team
After you create the team, the Get Started dialog is displayed (see Launching Your Site.) Enter the URL and click LAUNCH MY SITE.
Adding Team Members
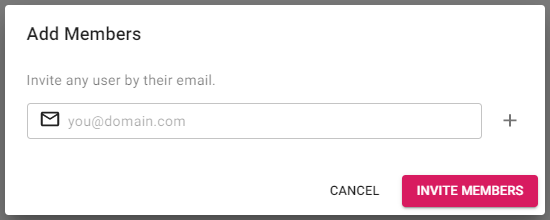
You add members by supplying an email address and inviting them.
Click your team name in the page header, then click the Team Members tab:

Click the ADD MEMBERS button. For each desired team member, enter an email, and click the + button. Click INVITE TEAM MEMBERS when done.

Members receive an email indicating that they have been added to a team.
After you add the team member, select a role:
| Role | Role Description |
|---|---|
| Read Only | Users with a Read Only role can see all of the team’s sites and settings, but are barred from all further actions. |
| Purger | As a Purger a user can see all of the team’s sites and settings and purge the cache on the sites in scope. |
| Member | Users in the Member role can see all of the team’s sites and settings, and deploy updates to existing sites via edgio deploy, but cannot change site or team settings. |
| Admin | Users in the Admin role have full control over all team and site settings, but cannot add, remove, promote or demote other Admin or Super Admin roles. |
| Super Admin | Users in the Super Admin role have full control over all team and site settings. They are the only ones to add, remove, promote or demote other Admin or Super Admin roles. |
See Creating an Environment for more information.