This guide shows you how to setup a SSO using SAML Identity Provider (IDP).
Configuring SAML (Security Assertion Markup Language) for your Edgio account lets you and all your teammates login to Edgio using the credentials stored in your organization’s SAML Identity Provider (IDP).
Note: If you don’t have SAML enabled on your Edgio team, reach out to support to enable it.
Setup
Edgio currently supports SAML SSO setup via a SAML metadata discovery URL. This setup process will combine configuration in your Edgio team account as well as your SAML provider.
Enable SAML Single Sign On
- From the Edgio Developer console, change to your team.
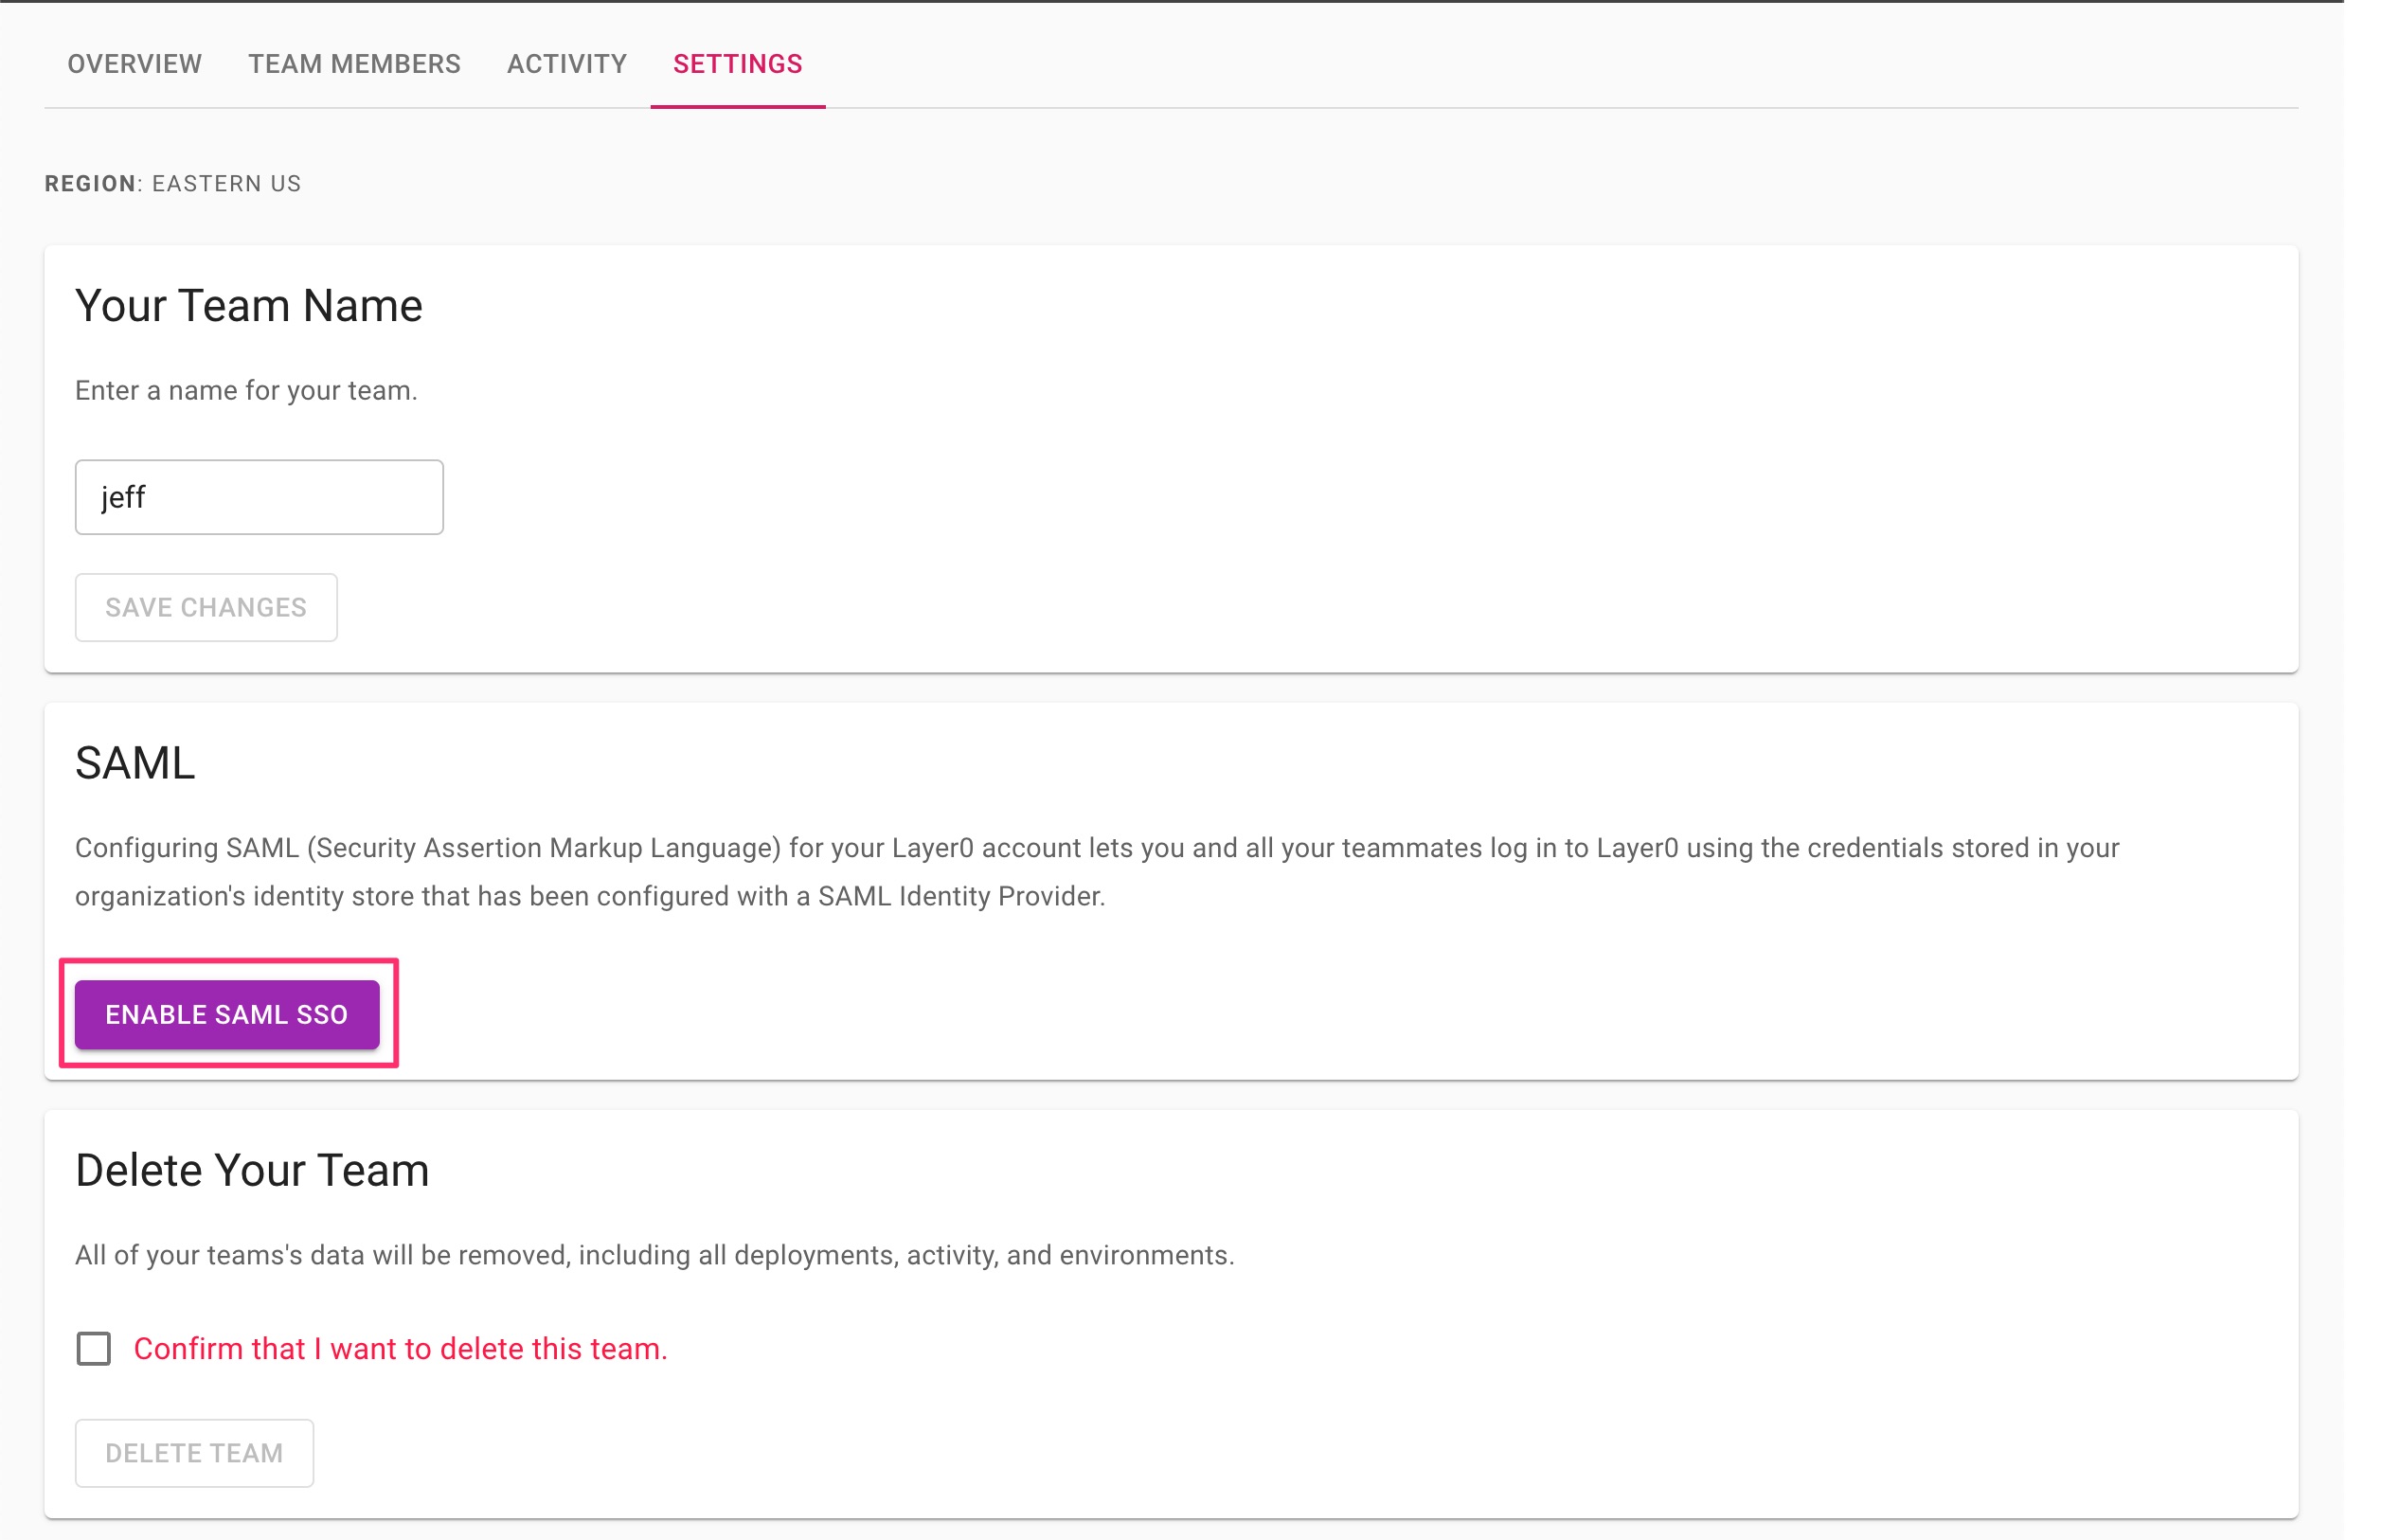
- Navigate to team settings.
- Find the SAML section and click ENABLE SAML SSO

- Get SAML metadata url from your Identity Provider (IDP). (See instructions below)
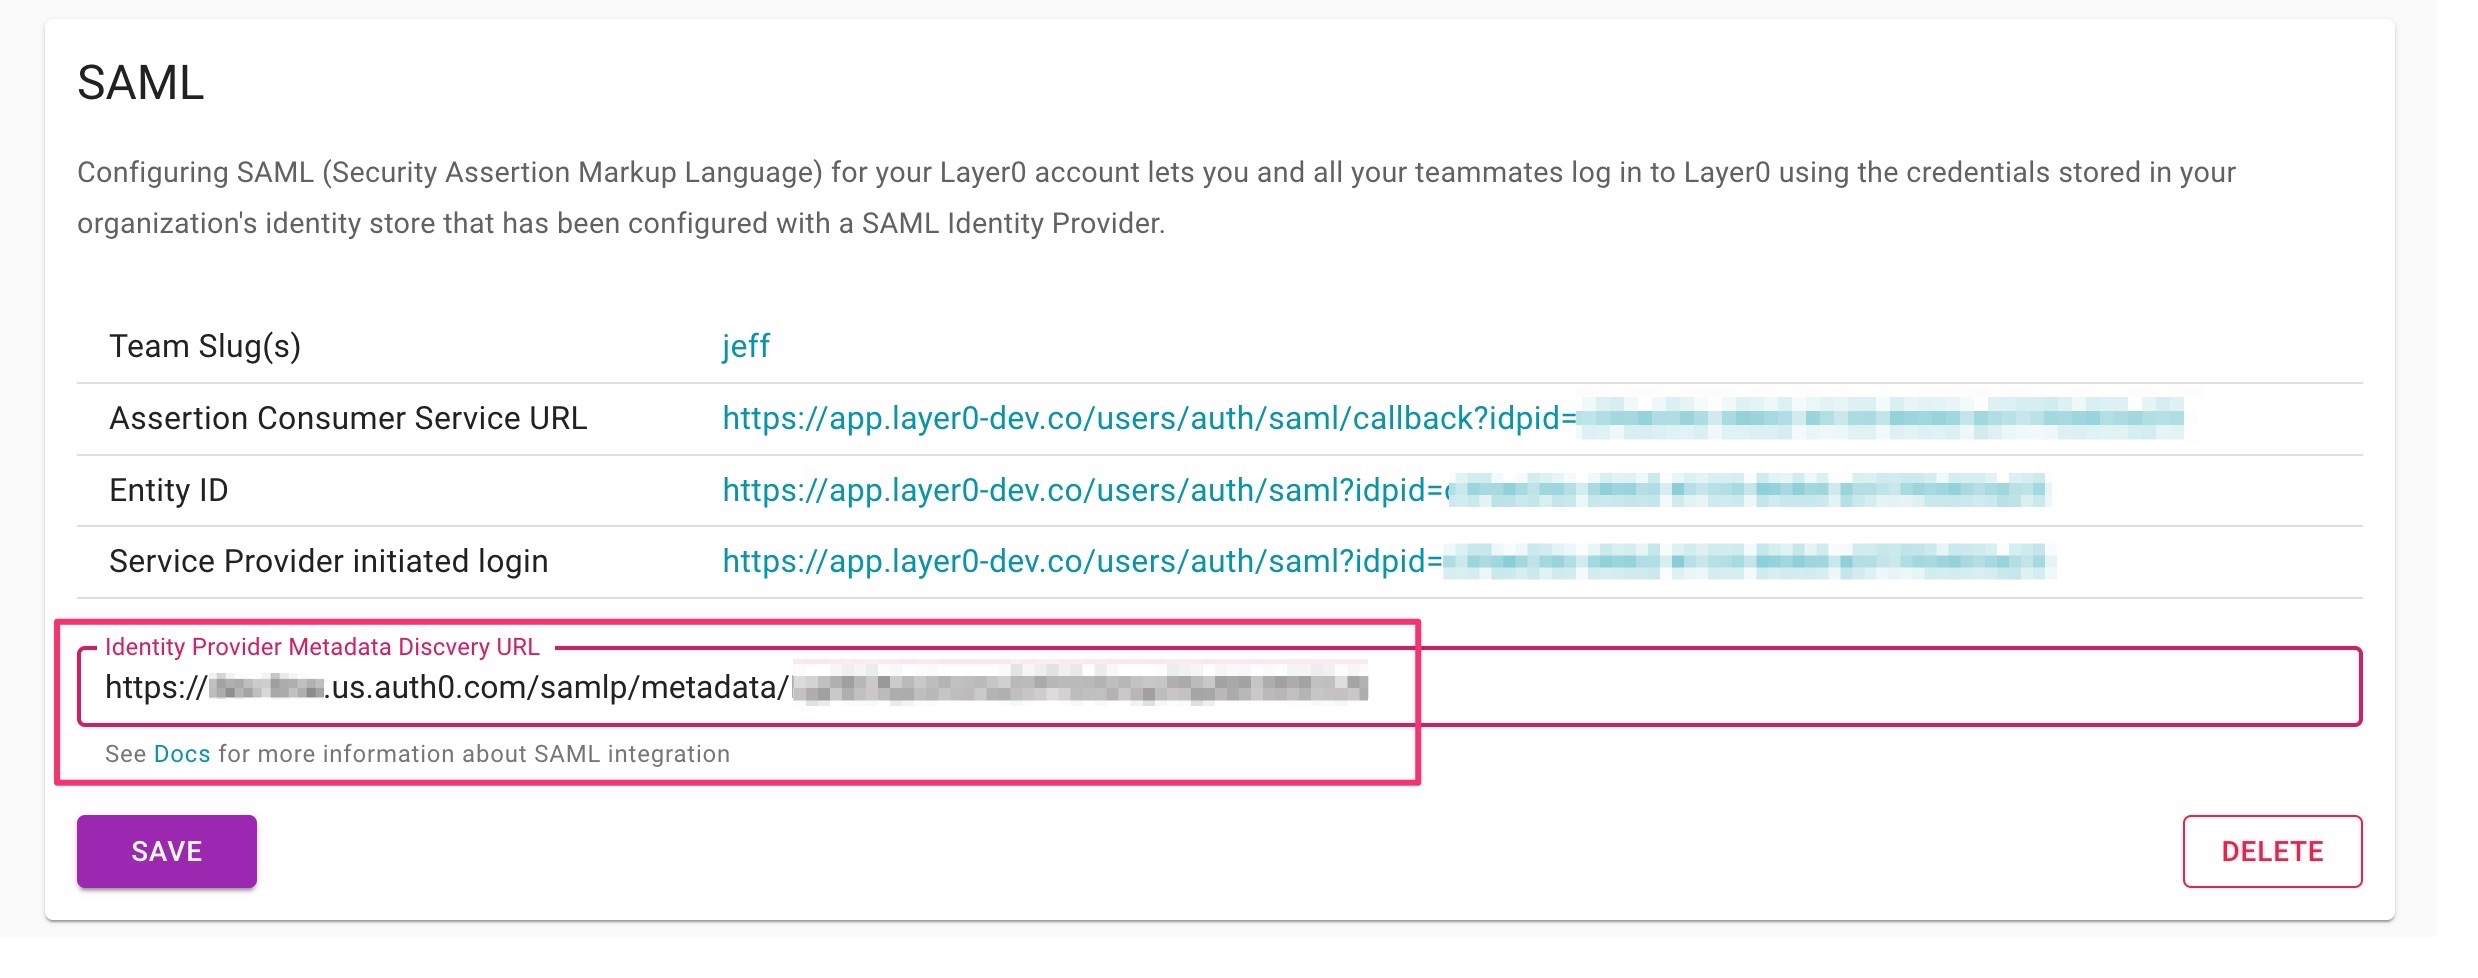
- Enter SAML metadata url and click Save

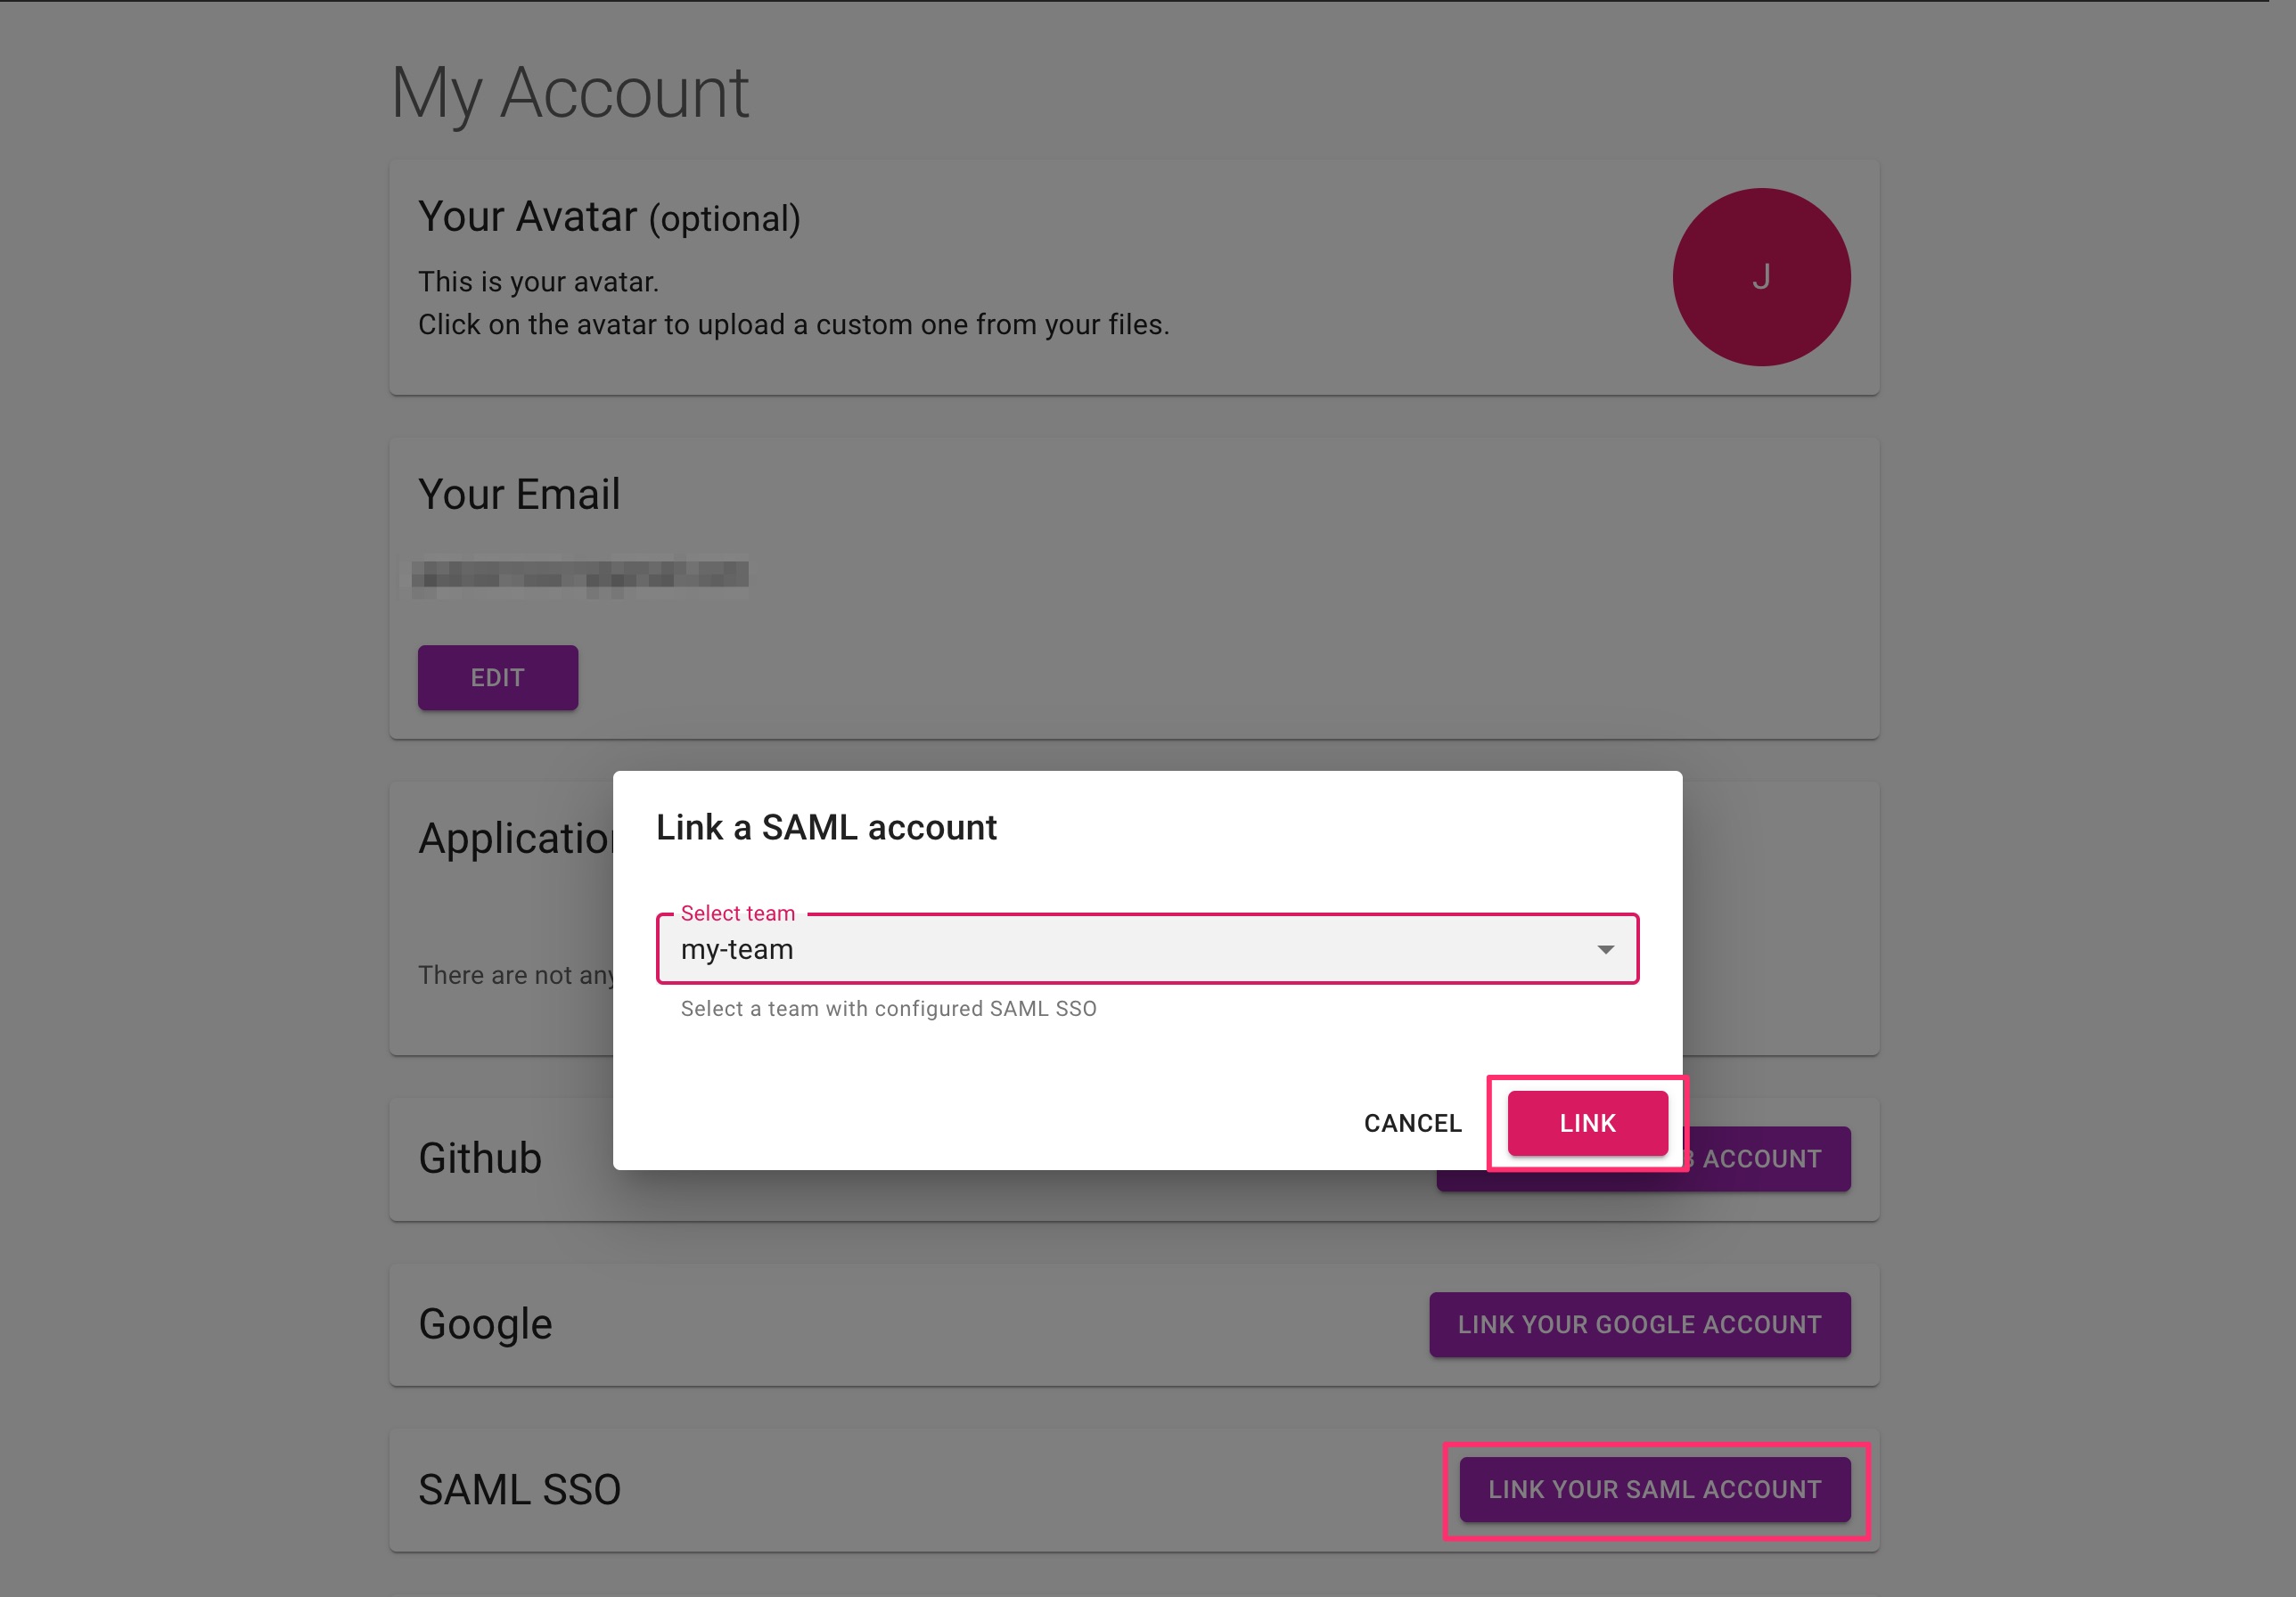
- After you’ve successfully saved the metadata configuration, click Verify button to link your current account and test the configuration

Disable other sign-in methods
Once you have verified the configuration and it appears to be working, then you can disable all other sign-in methods for SSO users.

Linking existing team members
When you already have team members in your team, they can still login to existing account with any sign-in method. They need to link their account to the SAML provider. Accounts can be linked from their user settings My Account page.

Identity Providers
Each identity provider requires slightly different setup. Below you will find instructions for a few providers.
Auth0
- In Auth0, go to Dashboard > Applications and either create a new application (Regular Web Application) or click the name of an application to update.
- In Auth0, go to the Addons tab and enable the SAML2 Web App toggle.
- In Edgio, go to Team > Settings and copy “Assertion Consumer Service URL”. In Auth0, got Addons > SAML2 Web App > Settings (popup) set it as Application Callback URL. Scroll to the bottom of the popup and click Enable
- In Auth0, go to the Application > Settings > Advnaced Settings > Endpoints and copy the SAML Metadata URL.
- Go to the Edgio Console Team > Settings and enter the metadata URL to SAML configuration section in Edgio Console. Save and then verify the metadata URL.
Salesforce
- In SF, Go to Setup > Apps > App Manager and select New Connected App. Fill in the Application Name, API name and all other fields that are required
- Select checkbox Enable SAML.
- In Edgio, go to Team > Settings and copy “Entity ID” and “Assertion Consumer Service URL” (ACS URL) and fill in the corresponding fields in Salesforce. After you have configured all the fields click Save.
- Open the created application and copy SAML Metadata Discovery Endpoints.
- Go to the Edgio Console Team > Settings and enter the metadata URL to SAML configuration section in Edgio Console. Save and then verify the metadata URL.
- In SF, allow users to access Connected Apps via editing the Setup > Profiles and edit the required profile. Select the app you created in step 2.
Once you have configured the Service Provider, you can view logs from Salesforce if something is not working. Logs are available from Setup > Identity > Identity Provider Event Log
Okta
- In Okta, go to Dashboard > Applications and select Create App Integration.
- Select SAML 2.0 and fill in the App name and other required fields.
- In Edgio, go to Team > Settings and copy “Entity ID” and “Assertion Consumer Service URL” (ACS URL) and fill the corresponding fields in Okta.
- Single sign on URL - Assertion Consumer Service URL
- Recipient URL - Assertion Consumer Service URL
- Destination URL - Assertion Consumer Service URL
- Audience URI (SP Entity ID) - Entity ID
- Create Attribute Statement (map fields) for email address.
- Name: email
- Value: user.email
- Save the application after configurations are entered.
- In Okta, navigate to the Sign On tab. Select “dynamic configuration” and copy the metadata url. For example,
https://example.okta.com/app/XXXXXX/sso/saml/metadata. - Go to the Edgio Console Team > Settings and enter the metadata URL to SAML configuration section in Edgio Console. Save and then verify the metadata URL.
- In Okta, assign created the application to users. More information